Create a time-lapse video
Do you want to create an impressive time-lapse video? We’ll show you want to need and what you should do.
10 min read
At a glance: Create a time-lapse video
- Time lapses show slow movements at high speed, such as clouds passing by
- Almost all smartphones and digital cameras are suitable for creating a time-lapse video
- A tripod and a Bluetooth remote shutter make it easier to capture the images
- Use the correct camera settings
- For ideal results, use time-lapse tools and software on a computer
- Create time lapses with ease with the iPhone
-
Which camera is suitable for time-lapse photography?
Almost all smartphones and digital cameras are suitable for time-lapse photography. It’s important that you can take pictures at set intervals. This is achieved either using an integrated mode or a connected Bluetooth remote shutter.
-
Time lapse: How many images per minute/second?
How many images per minute or second a time-lapse video should have depends on the movement of the subject. The slower the movement that you want to capture, the fewer images per minute or second are required.
-
What speed is ideal for time lapses?
The ideal speed for a time lapse is easy to determine. It is the result of the timespan of your recording and the desired video length. If, for instance, you want to create a 30-second time-lapse video of three hours of passing clouds with 30 images per second, you need to take 5 images per minute, or take a picture every 12 seconds.
What are time lapses and how are they created?
A time lapse is a video that shows a quick-motion effect. A stationary camera films the subject over a prolonged period of time, but only take a few images per second. Popular subjects include the sunrise and sunset, blossoming plants or the hustle and bustle on a busy street.
If you are out taking pictures of stars with a phone, you can set aside a little more time and then take pictures for a time-lapse video afterwards. Technically, a time lapse is created from individual photos. These photos are then shown in quick succession in the finished time-lapse video. One playback second usually contains 25 or 30 images.
By way of illustration: You take a photo every six seconds and use these photos to create a time-lapse video with 30 images per second. One second of the time-lapse video then shows around three captured real-time minutes.
Difference between time lapse and hyperlapse
While you create a time-lapse video as a classic time lapse made up of photos, there is also hyperlapse. However, these are accelerated playback videos where the camera moves and subjects change. If, for example, you film a long walk with a camera and then play this video back so quickly that the walk is played in full within a few minutes, that is a hyperlapse video.
Create a time lapse: Tips
Creating a time-lapse video is very easy if you follow a few tips. For ideal results, choose your equipment to suit your subject and the situation when taking the pictures. Successful time-lapse videos can not only be taken with high-quality DSLR cameras, but also with your smartphone. With the following tips, you’ll be doing everything right when capturing and editing your pictures.
Use the right camera
All smartphones and cameras are generally able to record material for a time-lapse video. The better the image quality, the higher the quality of the time-lapse video that can be created. However, when selecting the camera, it’s not only the image quality that counts but also the field of application.
Smartphones and action cameras, which can fit in almost any bag thanks to their compact dimensions, are suitable for spontaneous time-lapse photography. A Bluetooth remote shutter can be used to conveniently and automatically take phone pictures at customised intervals, making you ideally equipped to create a time-lapse video from photos.
The right equipment for your time-lapse video
Clever choice of location and shooting angle
The ideal location is important so that the time-lapse video will show the desired effect. If you want to create a time-lapse video of the growth of a plant, for example, choose a camera position a short distance away and at a shooting angle slightly above the plant, so that the growing plant takes up most of the image area over the course of the shoot.
If, however, you want to record the sunset as a time lapse, choose a location that shows the horizon clearly and in which there are as few disruptive movements in the foreground as possible. Individual people who run in front of the camera during the shoot are not generally a problem. However, lots of activity immediately in front of the lens often significantly impairs the picture.
You choose the shooting angle yourself. If, in addition to the sunset, you would like to show how the surrounding area changes, such as the city lights lighting up, then choose a perspective in which the sky takes up around a third of the image. If, however, the focus should be on the night sky, point your phone further up so that the sky fills around two thirds of the image.
Ideas for time-lapse subjects
Many subjects are suitable for creating a time-lapse video. Any subject that is created or changes over time is also a potential time-lapse subject. For example, what about creating a time-lapse video of yourself as you try out a few selfie ideas? We have put together a few ideas as further inspiration for your next video project:

- Sunrise/sunset, a clear starry sky, passing clouds
- Flowing streams and rivers, traffic in a shipping lane
- Opening flowers/plant growth
- City lights at night
- Construction sites, events or street parties
- Creative activities such as drawing, making pottery, crafts or decorating
- Trains and cars
Interval shooting for the best results
Photos need to be taken at set intervals to create a time-lapse video. Most modern mobile phones and digital cameras come equipped with this feature. There is often even a special mode for time-lapse videos. The smartphone first takes photos and then automatically puts the pictures together to make a finished time lapse. You then no longer need to create a time-lapse video in post-editing. Although this saves you time, you also have hardly any opportunity to influence the result after the pictures are taken.
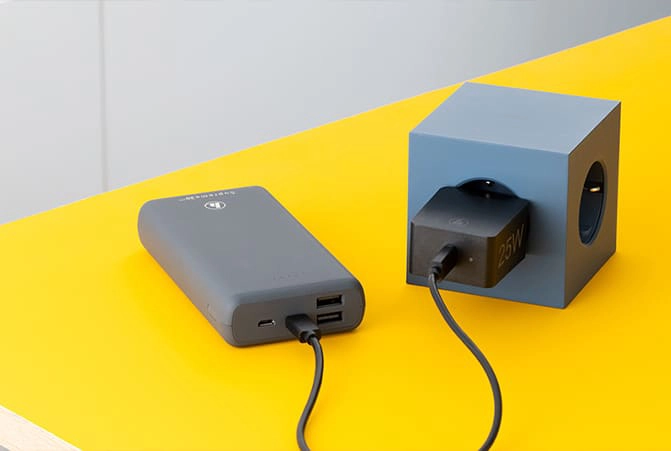
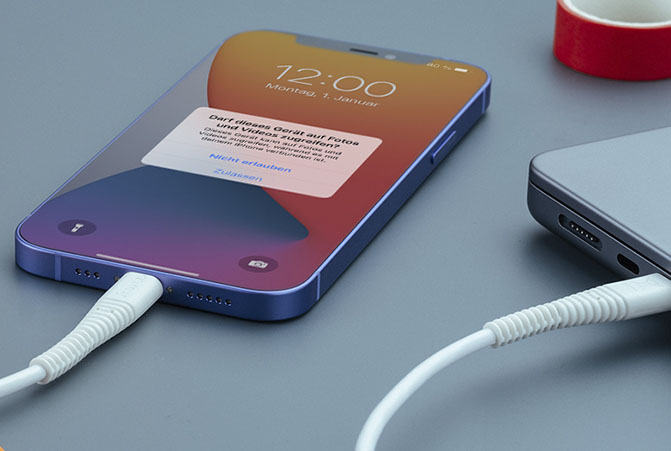
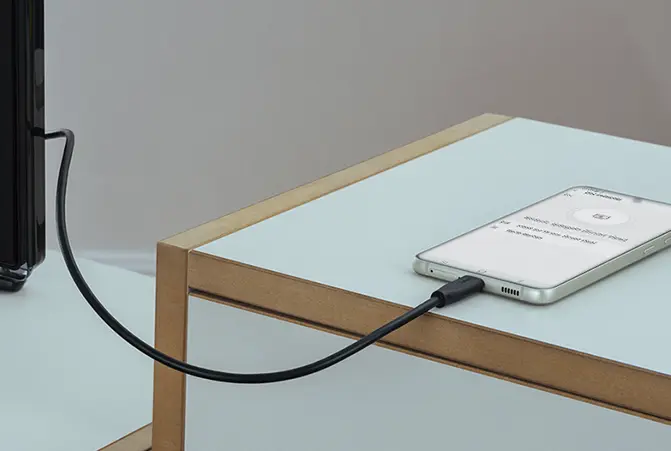
Ensure a power supply
The longer the shoot takes, the more important the power supply becomes. Especially on trips to remote locations, the phone battery could be drained quite a lot before you actually record your time-lapse video. To ensure you start with a full battery and thus maximum battery life, we recommend you take a powerful power bank with you. This also enables you to create longer time-lapse videos without having to worry about the battery charge.
Use a tripod
One of the most important requirements for creating a successful time-lapse video is that the camera is stable and remains in the same place. Even minimal changes are visible later on and impair the result. So, use a stable tripod that securely fixes the camera in place throughout the shoot. Even smartphones can be easily fitted to camera tripods using an adapter.
Tripods & accessories for a successful video
Manual time-lapse settings
Ideally, apply all of the settings on your camera for your time lapse manually. This way, you will avoid any flickering, or jumps in exposure, in the later time-lapse video, caused by the camera’s automatic system when the exposure conditions change. As a rule of thumb, use half the time interval between the images as the exposure time.
In our example above with six seconds between the images, you would select an exposure time of around three seconds. To avoid overexposure, also use a high aperture and as low an ISO value as possible. In bright sunlight, you can use additional grey filters if necessary.
Last but not least, set the focus manually and leave it constant throughout the shoot. Once you have found the ideal time-lapse settings, you can start the shoot and create your time-lapse video. If your camera doesn’t offer any option to manually change the settings, you can often also use a time-lapse mode. This is particularly an option on smartphones and action cameras.
Tools and software
Once you have shot sufficient material, you can then create a time-lapse video from the pictures. There are suitable tools for the iPhone, Android, PC and Mac that cater to every need and budget. From professional solutions such as LRTimelapse, Timelapse Tool and Pano Lapse to free apps such as SkyStudioPro or Time Lapse Creator, you have many choices on your computer.
Lapse It Pro is excellent on the iPhone and Framelapse is great for Android. You can, of course, also use video-editing software such as Adobe Premiere Pro or Apple Final Cut Pro to create time-lapse videos.

Create a time lapse with the iPhone
If you want to create a simple time-lapse video with the iPhone, the camera app is often sufficient. There you can select the time-lapse mode by swiping right on the band above the shutter release. You can find time lapse at the far left of the selection band for camera modes. After selecting the mode, you can change the time-lapse speed on the display of your iPhone. In doing so, you set the interval at which the individual pictures are taken and thus the speed of the time-lapse video. Ideally adapt this setting to suit your subject before you create the time-lapse video.
Use a time-lapse app
You get many more setting options with a special time-lapse app. Lapse It Pro , for example, not only takes care of interval shooting with manual settings, but also generates a 3D map of your subject, so that you can apply different effects in the foreground and background later on. The app takes individual pictures, which you can then use to create a time-lapse video.
The app supports the uncompressed RAW format for images so that you can also edit them in detail later on, such as adjusting the colour temperature. If you want to create a successful time-lapse video with your iPhone, this time-lapse app is one of the best solutions. Consider using a suitable tripod to take blur-free images.